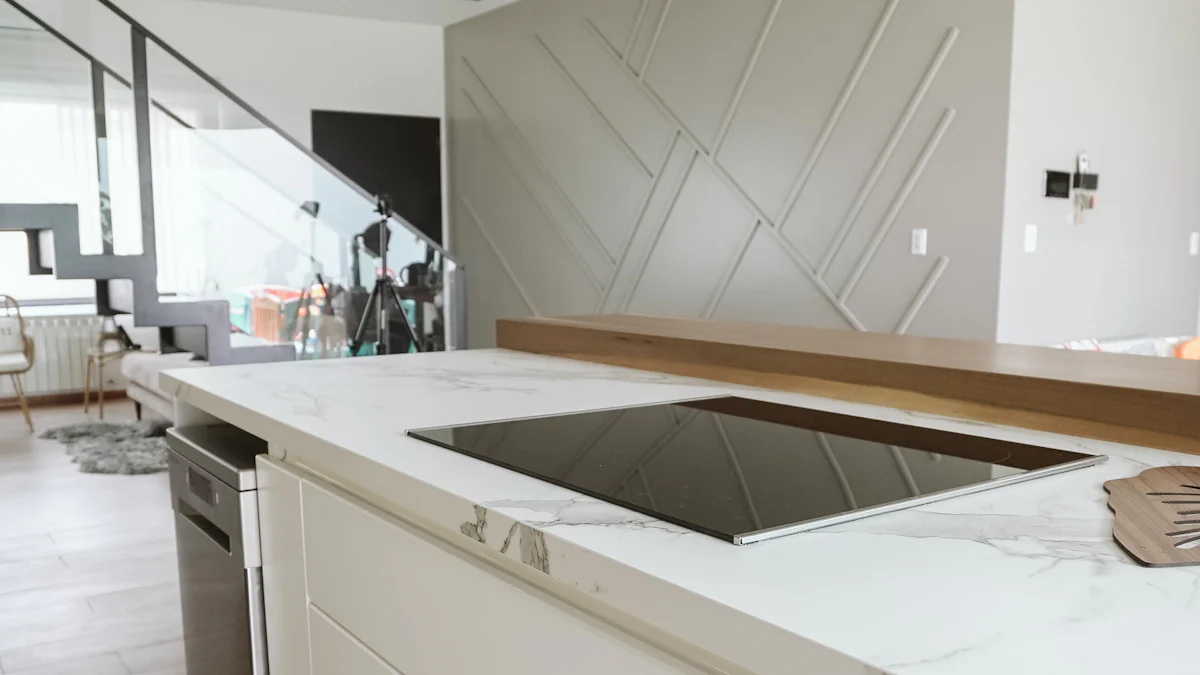
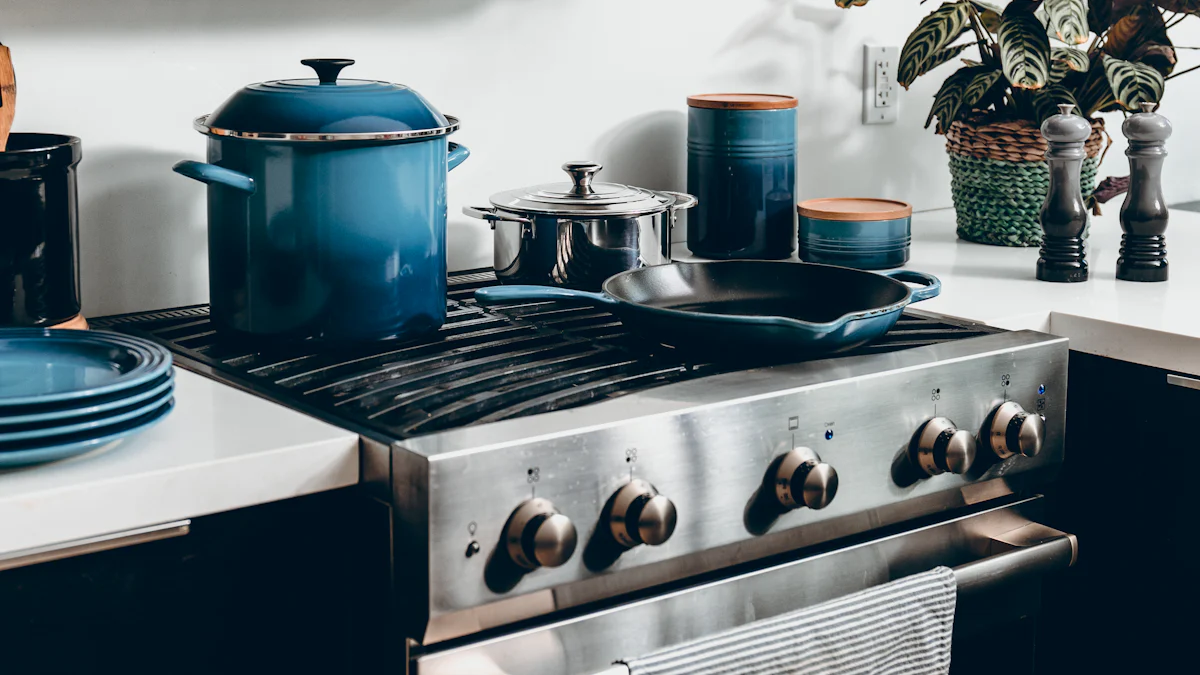
Step-by-Step Guide to Installing a Downdraft Electric Cooktop

Installing a downdraft electric cooktop might seem tricky, but you can handle it with the right approach. This type of cooktop combines sleek design with a built-in downdraft vent, making it perfect for modern kitchens. Before starting the installation, take a moment to prepare your tools and workspace. Safety is key, so don’t skip precautions like turning off the power. With some patience and attention to detail, you’ll have your new cooktop ready to use in no time.
Key Takeaways
Get tools like screwdrivers, a drill, and a level ready. Being prepared saves time and makes the job easier.
Stay safe by turning off power and wearing safety gear. These actions help avoid accidents while working.
Measure the countertop opening carefully to fit the cooktop. Check measurements twice to avoid expensive errors.
Install step-by-step by securing the cooktop and wiring it. This way, the setup will be safe and work well.
Clean the cooktop and filters often to keep it working. Regular care helps it last longer and stay efficient.
Tools and Materials for Installing a Downdraft Electric Cooktop

Before you dive into the installation process, it’s essential to gather the right tools and materials. Having everything ready will save you time and make the process smoother. Let’s break it down into tools and materials you’ll need.
Essential Tools
You don’t need a toolbox full of fancy gadgets, but a few basic tools are a must. Here’s what you’ll need:
Screwdrivers (flathead and Phillips): These are essential for loosening and tightening screws during the installation.
Adjustable wrench: Perfect for securing bolts and making adjustments.
Drill and drill bits: You’ll need these to create holes for mounting or securing the downdraft vent.
Measuring tape: Accurate measurements are key to ensuring the cooktop fits perfectly.
Level: This helps you confirm that the cooktop is installed evenly. A level cooktop not only looks better but also functions properly.
Required Materials
Now, let’s talk about the materials. These are just as important as the tools:
Downdraft electric cooktop: This is the star of the show! Choose a model that fits your kitchen’s design and dimensions.
Ventilation ductwork or recirculation kit (if applicable): Depending on your setup, you’ll need ductwork to vent air outside or a recirculation kit for indoor air filtering.
Electrical wiring and connectors: These ensure a safe and secure connection to your home’s power supply.
Sealant or caulk: Use this to seal gaps around the downdraft vent and prevent air leaks.
User manual and installation guide: Don’t skip this! The manual provides specific instructions for your cooktop model.
💡 Pro Tip: The total cost of materials and installation for downdraft cooktops typically ranges from $672 to $1,326. This includes the cooktop, labor, and related materials. Planning your budget ahead of time can help you avoid surprises.
By gathering these tools and materials beforehand, you’ll set yourself up for a hassle-free installation. Ready to get started? Let’s move on to the preparation steps!
Preparation Steps for Installing a Downdraft Cooktop
Before you start the installation, it’s important to prepare properly. This includes taking safety precautions and getting the installation area ready. Let’s break it down step by step.
Safety Precautions
When working with electrical appliances like a downdraft cooktop, safety should always come first. Here’s what you need to do:
Turn off power to the kitchen at the circuit breaker. This prevents electrical shocks while you work.
Ensure the downdraft vent is electrically grounded according to local codes. Proper grounding reduces the risk of electrocution and ensures safe operation.
Wear protective gloves and safety goggles. These protect your hands and eyes from sharp edges and debris.
⚠️ Important: Always check for exposed electrical parts and secure them to avoid shocks or burns. Avoid working in wet conditions, as water increases the risk of electrocution.
Taking these precautions will help you stay safe and avoid accidents during the installation process.
Preparing the Installation Area
Now that you’ve taken care of safety, it’s time to prepare the space where your downdraft cooktop will go. Follow these steps:
Measure the countertop cutout to match the cooktop dimensions. Use a measuring tape to ensure accuracy. Most downdraft cooktops require specific dimensions for a proper fit.
Requirement
Dimension
Space between cooktop and cabinet
Depth of cabinet for downdraft hood
At least 24 inches (some models require more)
Depth of cabinet for motor box
Typically about 30 inches
Check for adequate space for the blower housing and ventilation system. Make sure there’s enough room under the countertop for the motor box and ductwork.
Clear the area of obstructions and debris. Remove any items or dust that could interfere with the installation. A clean workspace makes the process easier and safer.
💡 Pro Tip: Double-check your measurements before cutting or drilling. Mistakes can be costly and time-consuming to fix.
By following these steps, you’ll create a safe and well-prepared area for your downdraft cooktop. Once everything is ready, you can move on to the actual installation process with confidence.
Step-by-Step Installation of a Downdraft Electric Cooktop

Removing the Old Cooktop (if applicable)
If you’re replacing an old cooktop, start by disconnecting the power supply. Follow these steps to do it safely:
Use a circuit tester to confirm the power is completely off. Test the wires, and if the tester light comes on, there’s still power that needs to be shut off.
Once the power is off, unscrew and carefully lift the old cooktop out of the countertop. Be gentle to avoid damaging the surrounding area. After removing it, clean the countertop surface thoroughly. This ensures a smooth and secure fit for your new center downdraft cooktop.
Installing the New Cooktop
Now it’s time to install the new downdraft electric cooktop. Start by placing it into the countertop cutout. Make sure it fits snugly and aligns properly with the edges. Use the provided brackets or screws to secure it in place. Tighten them enough to hold the cooktop firmly, but don’t overtighten, as this could damage the unit or countertop.
Next, connect the electrical wiring to a dedicated circuit. Refer to the user manual for specific instructions. Proper wiring is crucial for safety and functionality, so double-check your connections before moving on.
Setting Up the Downdraft Ventilation System
The downdraft ventilation system is what sets this cooktop apart. Begin by attaching the downdraft vent to the ductwork or recirculation kit, depending on your setup. Ensure all connections are tight and secure.
Use caulk or sealant to seal any gaps around the vent. This prevents air leaks and ensures proper ventilation. Once everything is in place, test the system for airflow. Turn it on and check if the air is being pulled effectively. If you notice weak airflow, inspect the connections and make adjustments as needed.
💡 Pro Tip: Proper ventilation is essential for maintaining good kitchen ventilation and keeping your cooking area fresh.
By following these steps, you’ll have your downdraft range installed and ready to use in no time.
Final Adjustments and Testing
Once you’ve set up the downdraft system, it’s time to make the final tweaks and ensure everything works perfectly. These last steps are crucial for a safe and functional installation.
Ensure the cooktop is level and securely fastened.
Start by checking if your center downdraft cooktop is level. Grab your level tool and place it on the surface of the cooktop. If it’s not even, adjust the brackets or screws until it sits perfectly flat. A level cooktop isn’t just about looks—it ensures even cooking and prevents spills from pooling in one spot.
Next, double-check that the cooktop is securely fastened. Gently push on the edges to confirm it doesn’t wobble or shift. Tighten the screws or brackets if needed, but don’t overdo it. You want it snug, not strained.
💡 Pro Tip: If you notice any gaps between the cooktop and countertop, use a bit of sealant to fill them. This keeps crumbs and spills from sneaking underneath.
Restore power and test the cooktop’s functionality.
Now comes the exciting part—testing your new downdraft electric cooktop! Head to your circuit breaker and restore power to the kitchen. Once the electricity is back on, turn on the cooktop and test each burner. Make sure they heat up quickly and evenly.
Don’t forget to test the downdraft vent too. Turn it on and check if it’s pulling air effectively. Hold a piece of paper near the vent to see if it gets drawn in. If the airflow seems weak, revisit the connections and ductwork to ensure everything is sealed properly.
⚠️ Important: If you notice any electrical issues or the cooktop doesn’t function as expected, turn off the power immediately and consult a professional. Safety first!
By following these steps, you’ll complete the installation like a pro. Your center downdraft cooktop is now ready to handle all your cooking adventures. Enjoy your sleek, modern kitchen upgrade!
Maintenance Tips for a Downdraft Electric Cooktop
Keeping your downdraft electric cooktop in top shape doesn’t have to be a chore. With regular care and a few simple steps, you can ensure it performs like new for years. Let’s dive into some practical maintenance tips.
Cleaning the Cooktop Surface
Daily cleaning keeps your cooktop looking great and functioning properly. Here’s how you can do it:
Use a soft, damp cloth to wipe down the surface after each use. This removes spills and prevents buildup.
For stubborn stains, try CERAMA BRYTE® Ceramic Cooktop Cleaner. You can also use other effective options like EZ Brite Glass and Ceramic Cooktop Cleaner or Carbona Ceramic Cooktop Cleaner. These products tackle tough messes without leaving streaks.
Avoid abrasive cleaners or scrubbing pads. They can scratch the surface and ruin the sleek finish.
💡 Pro Tip: For daily upkeep, Weiman Cook Top Daily Cleaner is a great choice. It leaves a streak-free shine and handles oily residue with ease.
Maintaining the Downdraft Ventilation System
Your downdraft range relies on a clean and efficient ventilation system. Regular maintenance ensures proper airflow and keeps your kitchen ventilation fresh.
Clean the grease filter and ventilation chamber regularly. Dust and debris can clog the system, reducing its effectiveness.
Inspect the ductwork for blockages or damage. Common culprits include dust buildup, closed dampers, or even objects entering the ducts. Regular cleaning and ensuring all dampers are open can prevent these issues.
Carefully clean the vent grill. Use a soft cloth to avoid damaging the finish.
⚠️ Important: Damaged or leaking ductwork can lead to blockages. Check the seams and repair any leaks to keep the downdraft ventilation running smoothly.
General Care and Safety
A little extra care goes a long way in extending the life of your downdraft range. Follow these tips to keep it safe and functional:
Avoid placing heavy objects on the cooktop. This prevents cracks or damage to the surface.
Check electrical connections periodically. Look for visible wear and ensure cords don’t pass through walls or floors. Test your kitchen’s GFCI receptacles to confirm they’re working properly.
Limit air currents from other devices, like fans, during cooking. This helps the downdraft vent perform at its best.
💡 Pro Tip: Regularly changing or cleaning filters can prevent blockages and improve airflow in your downdraft ventilation system.
By following these maintenance tips, you’ll keep your downdraft electric cooktop and its ventilation system in peak condition. A little effort now saves you from bigger headaches later!
Installing a downdraft electric cooktop can transform your kitchen into a modern and functional space. With its space-saving design and clean aesthetics, it’s perfect for homeowners looking to enhance their kitchen’s style. The flexibility of downdraft systems allows you to install them in various layouts without needing a bulky vent hood. Plus, their discreet ventilation keeps your kitchen fresh without compromising the look.
Regular maintenance, like cleaning the cooktop surface and filters, ensures it stays efficient and easy to use. By following this guide, you can handle the installation confidently and enjoy the benefits of a sleek, well-maintained downdraft cooktop for years to come.
💡 Key Takeaways:
Space efficiency and clean aesthetics make downdraft cooktops a great choice.
Easy maintenance and versatile placement add to their appeal.
While installation may seem tricky, careful preparation simplifies the process.
FAQ
What is the difference between a downdraft cooktop and a regular cooktop?
A downdraft cooktop has a built-in ventilation system that pulls smoke and odors downward, eliminating the need for an overhead hood. Regular cooktops require a separate vent hood for air circulation. Downdraft models save space and offer a sleeker look.
💡 Tip: Downdraft cooktops are ideal for kitchens with limited space or open layouts.
Can I install a downdraft cooktop without professional help?
Yes, you can! With the right tools, preparation, and this guide, you can handle the installation yourself. However, if you’re unsure about electrical wiring or ductwork, hiring a professional ensures safety and compliance with local codes.
⚠️ Important: Always turn off the power before starting any electrical work.
Do downdraft cooktops work as well as traditional vent hoods?
Downdraft cooktops work well for most cooking tasks, but they may not be as effective for heavy-duty cooking like frying. Their performance depends on proper installation and maintenance of the ventilation system.
💡 Pro Tip: Regularly clean the grease filters to maintain optimal airflow.
Can I use a downdraft cooktop in an island countertop?
Absolutely! Downdraft cooktops are perfect for island installations since they eliminate the need for a bulky overhead hood. They keep your kitchen open and stylish while providing effective ventilation.
✨ Bonus: An island setup with a downdraft cooktop creates a modern, streamlined look.
How often should I clean the downdraft vent?
Clean the grease filter and vent chamber every 1-3 months, depending on how often you cook. Regular cleaning prevents blockages and keeps the system running efficiently.
🧽 Quick Tip: Use warm, soapy water to clean the filters and let them air dry before reinstalling.
See Also
Installing Electric Cooktops with Downdraft: A Complete Guide
Comprehensive Steps for Electric Stove Installation
Essential Information on Induction Cooktops Featuring Downdrafts
Innovations in Induction Cooktops with Integrated Downdraft Systems
Top Rated 30-Inch Electric Cooktops Featuring Downdraft Ventilation

