Upgrade Your Kitchen: Installing Downdraft Hoods with Hobs

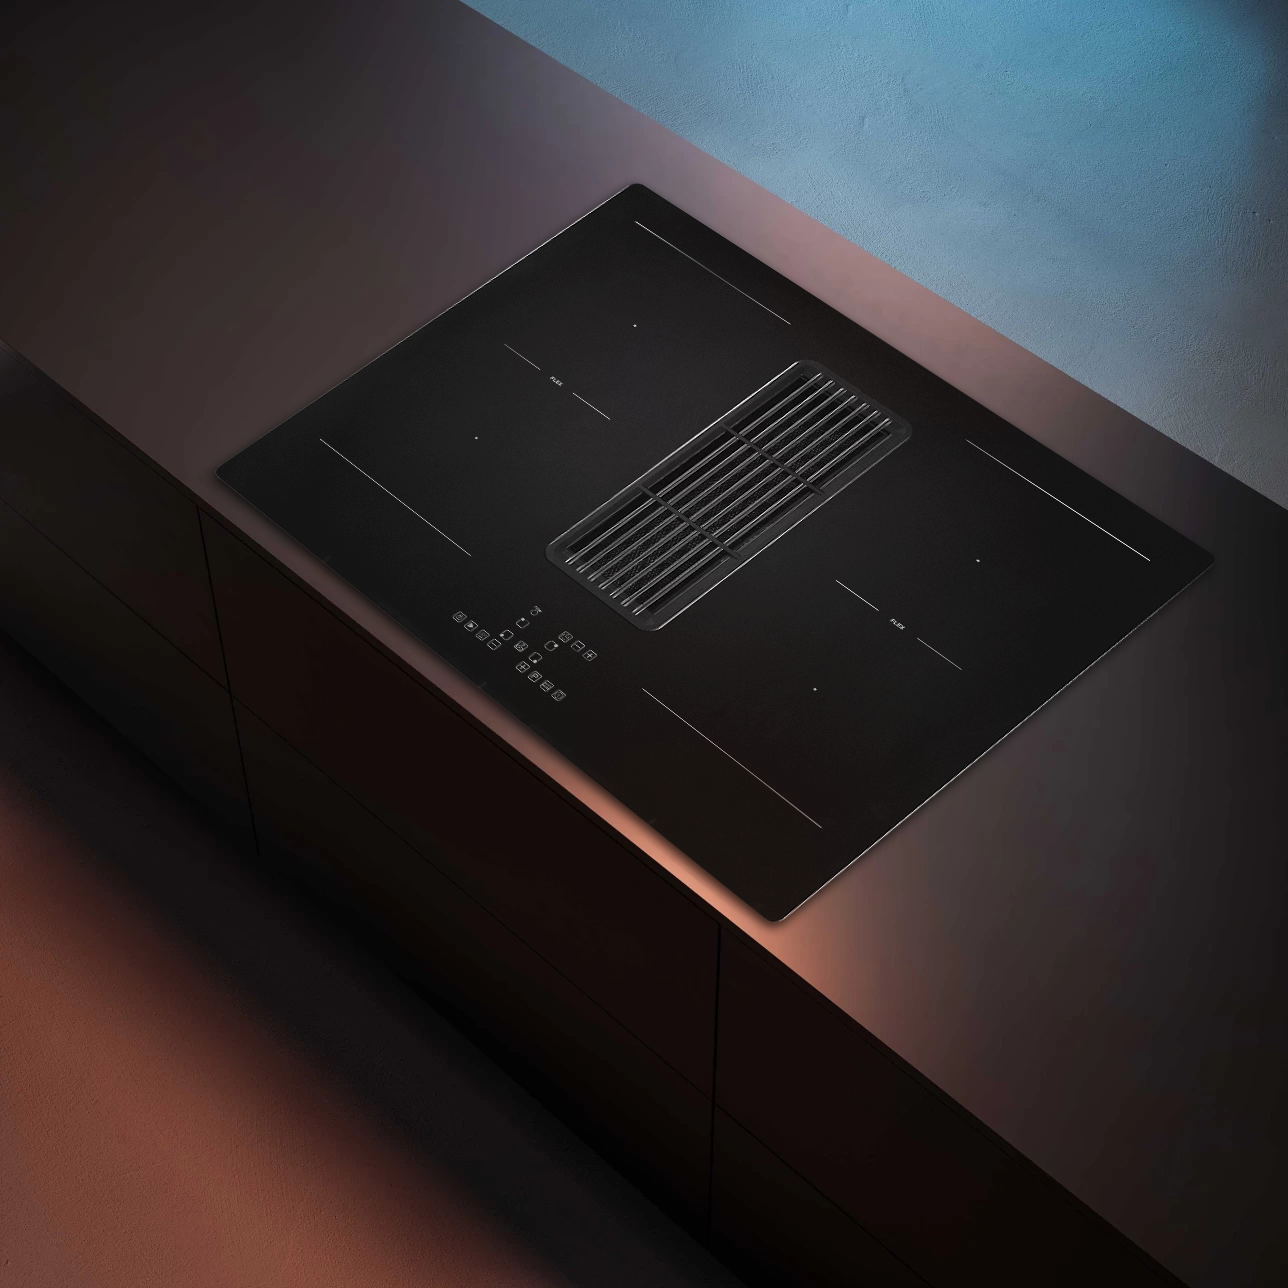
Transforming your kitchen into a functional and stylish area is easy with a Downdraft Hood with hob. This innovative design saves space by combining cooking and air purification in one sleek unit. It enhances air quality by eliminating smoke and odors instantly. Whether your kitchen is compact or spacious, this solution is perfect for you.
Tip: Consider this upgrade for a tidy appearance and excellent cooking efficiency.
Key Takeaways
Downdraft hoods clean air while cooking and save space.
Installing them needs planning for layout, power, and ducts.
Clean filters and check ducts often to keep them working well.
Understanding Downdraft Hoods
How Downdraft Hoods Work
Downdraft hoods pull smoke, steam, and odors downward. Unlike traditional hoods, they vent air down instead of up. These systems are installed near or inside the hob. This creates a smooth and space-saving design. When cooking, the hood turns on and pulls air through a strong fan. The air is then sent into a duct or cleaned for reuse.
The airflow in downdraft hoods is carefully designed for good performance. Rules ensure proper airflow to remove vapors effectively. For example, standard 1926.57(i)(8)(i) stresses adjusting airflow during use. This keeps the vent system working well without outside air causing problems.
Some downdraft hoods are retractable. They pop up from the counter when needed and hide away when not. This makes them a favorite for modern kitchens where space and looks matter.
Benefits of a Downdraft Hood with Hob
Adding a downdraft hood with a hob has many perks:
Space Efficiency: Combines cooking and venting in one, saving overhead space.
Sleek Design: Its simple look fits modern kitchens perfectly.
Improved Air Quality: Captures smoke and odors right away for cleaner air.
Energy Efficiency: Uses less power than traditional hoods, cutting energy bills.
Many downdraft hoods also have smart features like remote controls. These make it easier to adjust settings for your cooking needs.
Comparing Downdraft Hoods to Traditional Range Hoods
Downdraft hoods have unique benefits but differ from traditional hoods. Reports show traditional hoods work better for heavy cooking. They have larger areas to catch smoke and stronger filters. This makes them better at handling steam and grease.
Tests show downdraft hoods can struggle with heavy-duty tasks. Even with similar airflow (CFM), they may miss grease and food particles. Their design focuses more on looks and saving space than on strong ventilation.
Still, downdraft hoods save energy and look modern. The EPA says they use 30% less energy than traditional hoods. They also fit well in stylish kitchens, unlike bulky overhead units.
Feature | Downdraft Range Hoods | Traditional Range Hoods |
|---|---|---|
Energy Efficiency | Saves more energy, uses less power | Uses more energy |
Smart Features | Includes smart modes and controls | Fewer smart options |
Design | Great for modern kitchens | Classic, bulkier designs |
Choosing between these hoods depends on your kitchen and cooking style. If you want style and energy savings, pick a downdraft hood. For heavy cooking, a traditional hood works better.
Preparing for Installation
Checking Your Kitchen Layout
Before adding a downdraft hood, check your kitchen's layout. Different layouts need special planning for vents and appliance placement. U-shaped kitchens are great for airflow and easy cooking. L-shaped kitchens need careful vent placement to keep air moving well. Galley kitchens, with two counters, require smart fan placement to handle smells and moisture.
Kitchen Layout Type | Description | Ventilation Tips |
|---|---|---|
U-shaped | Three walls of cabinets for easy cooking flow. | Good for range hoods and airflow. |
L-shaped | Two walls meet, good for small kitchens. | Place vents carefully for airflow. |
Galley | Two counters face each other, saves space. | Fans must be placed well for smells. |
Keep stoves away from things that can catch fire. Leave space around ovens to avoid accidents. Open kitchens may struggle with downdraft vents catching smoke and smells. For island stoves, place the downdraft hood correctly for best results.
Power and Vent Needs
Downdraft hoods need the right power and vent systems to work well. Check your kitchen's wiring to see if it can handle the hood's motor. Most hoods need their own circuit for power. Vents are also key. Plan duct placement to avoid blocking cabinets or appliances.
For hoods that recirculate air, make sure filters are easy to clean. Good ventilation keeps air fresh and stops moisture problems while cooking.
Picking the Best Downdraft Hood
Choose a downdraft hood based on your cooking style and kitchen setup. Think about your hob size and the food you cook often. If you make greasy or smelly dishes, pick a hood with strong airflow. Retractable models look modern and work well in stylish kitchens.
Look for features like remote controls or adjustable fans for ease. Make sure the hood fits your kitchen's design and layout perfectly.
Planning Your Budget
Downdraft hoods cost more, so plan your budget carefully. Prices depend on the hood type and how hard it is to install.
Hood Type | Cost Range |
|---|---|
Wall-mounted | $700–$1,000 |
Island | $500–$1,400 |
Downdraft | |
Under-cabinet | $700–$1,000 |
Cabinet insert | $1,000–$1,500 |
Downdraft hoods are pricey because of their design and setup needs. Add costs for ducts, wiring changes, and hiring help if needed. A clear budget avoids surprises during installation.
Installing a Downdraft Hood with Hob
Tools and Materials Needed
Before you start, gather all tools and materials. Being prepared makes the job easier and faster. Here’s what you’ll need:
Tools:
Screwdrivers
Power drill with bits
Measuring tape
Level tool
Adjustable wrench
Utility knife
Materials:
Flexible air duct
Hose clamps
Screws and brackets
Electrical wires
Sealant or caulk
Tip: Check the manual for extra tools or materials your model might need.
Step-by-Step Installation Process
Follow these steps to install your downdraft hood with hob properly:
Prepare the Area:
Clear the space around your hob. Make sure the countertop is clean. Measure the area to ensure it fits your downdraft hood.Cut the Countertop (if needed):
If there’s no cutout, use the template from the manual. Mark the spot and carefully cut it with a jigsaw.Place the Downdraft Hood:
Put the hood into the cutout. Make sure it’s even with the countertop. Use a level to check alignment.Secure the Hood:
Attach the hood using screws and brackets. Tighten the screws to keep it steady.Connect the Wiring:
Turn off the power for safety. Connect the hood’s wires to your kitchen’s electrical system. Follow the manual’s wiring guide.Attach the Ducting:
Connect the flexible duct to the vent. Secure it with hose clamps. Make sure the duct is straight without bends.
Note: If unsure about wiring, ask an electrician for help.
Ventilation System Setup
Good ventilation is key for your downdraft hood to work well. Follow these steps to set it up:
Step | Description |
|---|---|
1 | Turn off power to stay safe during setup. |
2 | Drill holes in the wall or floor for ducts if needed. |
3 | Install the bypass box, making sure the outlet faces the exhaust. |
4 | Secure the blower system at an angle to stop water from entering. |
5 | Connect the blower to the bypass box with flexible ducting. Use clamps. |
Make sure the duct leads outside without sharp turns or long stretches. These can block airflow. If your hood recirculates air, install filters as directed in the manual.
Final Adjustments and Testing
After installation, do these final checks:
Check Connections:
Look at all screws, brackets, and ducts. Tighten anything loose.Seal the Edges:
Use caulk or sealant around the hood edges to stop air leaks.Test the Hood:
Turn on the power and test the vent. Try all settings, like fan speeds and pop-up features. Make sure it removes smoke and odors.Fix Issues:
If it doesn’t work well, check for blockages or misaligned ducts. Adjust as needed for better airflow.
Tip: Clean filters and ducts often to keep your downdraft hood working well for a long time.
Troubleshooting and Maintenance
Fixing Common Installation Problems
Setting up a downdraft hood can be tricky, but planning helps. One problem is measuring the countertop wrong. Always measure twice before cutting to fit the hood. Another issue is misaligned vent ducts. Crooked ducts block airflow and hurt performance. Use a level to align them properly during setup.
Wiring can also be confusing. If you’re unsure, check the manual or hire an electrician. This keeps the system safe and avoids damage.
Keeping Ventilation Working Well
Good ventilation is key for your downdraft hood to work right. Make sure ducts are clear of blockages. Straight ducts with few bends help air move better. If your hood recirculates air, clean or change filters often. This keeps your kitchen air fresh and odor-free.
For external vents, ensure ducts lead outside without sharp turns. Bad duct placement traps grease and moisture, lowering efficiency. Check ducts regularly for clogs to keep them working well.
Easy Maintenance Tips
Taking care of your downdraft hood makes it last longer. Clean filters every few weeks to stop grease buildup. Wipe the hood’s surface after cooking to keep it neat. Look at the ducts now and then for clogs or damage.
If your hood has smart features, update the software when needed. This keeps everything running smoothly. These simple steps make your hood reliable and efficient.
When to Get Expert Help
Some problems need a professional. If the hood doesn’t vent air well, call a technician. Electrical issues, like bad wiring, also need expert care. Strange noises or weak airflow mean it’s time for a pro to check it out.
Tip: Regular checkups by a professional can stop big problems and keep your hood in great shape.
Adding a downdraft hood with a hob makes your kitchen better. It looks modern and helps with cooking and clean air. You can install it yourself or hire someone to do it. Upgrade now to cook easier and keep your kitchen fresh and neat.
FAQ
What kitchen layout works best for a downdraft hood with hob?
U-shaped and island kitchens are ideal. These layouts help airflow and make placing the hood easy for good ventilation.
Can you install a downdraft hood by yourself?
Yes, it’s possible. Follow the instructions closely, especially for wiring and vents. If you’re unsure, ask a professional to ensure safety.
How often should filters be cleaned?
Clean filters every 2-4 weeks. This stops grease buildup and keeps the hood working well.
Tip: Use reminders to clean filters often. This improves air quality and helps your hood last longer.
See Also
Innovative Features of Induction Cooktops with Downdraft Systems
Guide to Installing Electric Cooktops Featuring Downdraft Ventilation
Comprehensive Instructions for Installing Downdraft Electric Cooktops
Essential Information on Induction Cooktops Equipped with Downdrafts
Top 5 36-Inch Electric Cooktops Featuring Downdraft Ventilation